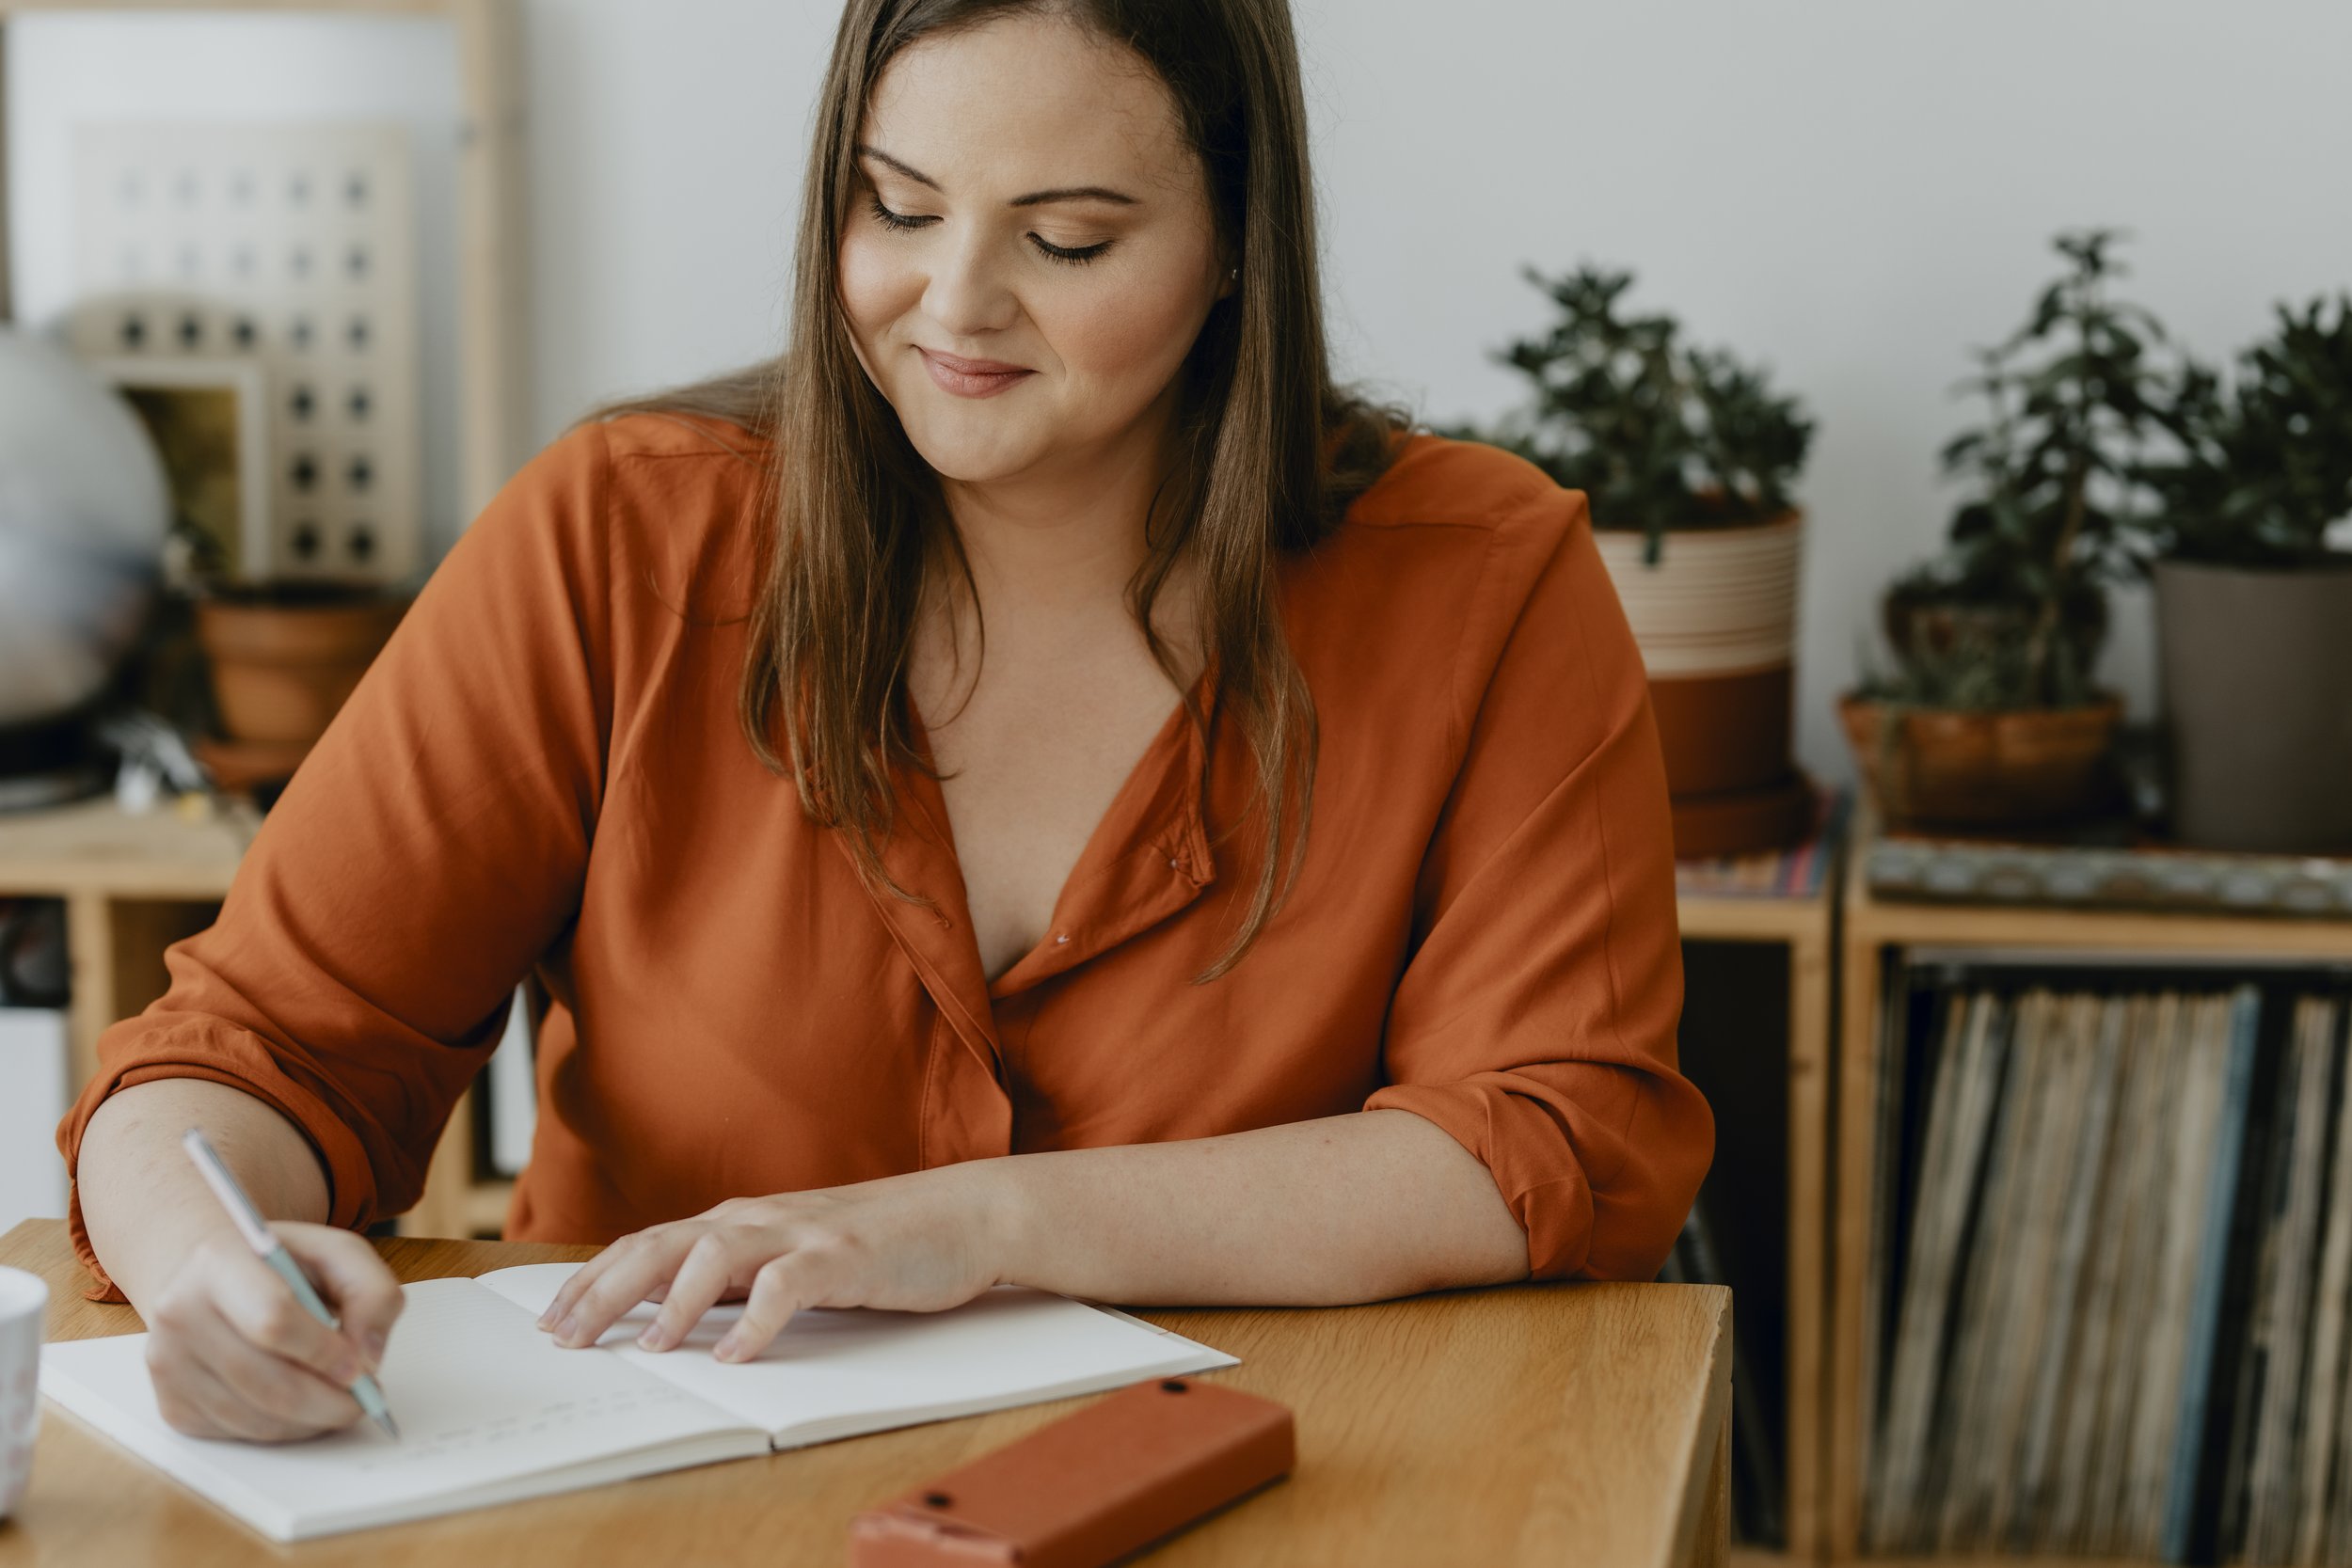
Cheryl and John Parrish, owners of Evergreen Wellness
Creating a wellness tracker (journal) was a personal journey for Cheryl Parrish and her husband, John. Shaped by decades of experience in marketing and a shared passion for empowering active adults to live their best lives, the Parrishes envisioned a simple, holistic tool to help people 50+ improve their fitness and overall wellness without the overwhelm of rigid tracking systems.
In this post, Cheryl shares the story behind the tracker, valuable lessons from the publishing process, and tips for anyone embarking on a similar journey of creating a printed product they hope to print in large quantities overseas.
Some of my favorite clients to work with are marketers and Cheryl was no exception. Marketers are familiar with working with designers but know that for a book project they need someone who has book planning, design and printing experience. I am also familiar with their world, having a keen interest in marketing and loving the convergence of marketing and book-making. Read on to learn about the successful product we created together, and to get a 20% off coupon code for John and Cheryl’s entire online store.


How did you come up with the idea for your fitness tracker?
My husband and I owned a full-service marketing firm from 1996 to 2021, serving clients across multiple industries. A couple of years into our business, and for more than 20 years, we had the incredible opportunity to work very closely with The Villages®—the largest and most vibrant retirement community in the world. In 2016, when my husband and I were in our 50s, we began thinking about the next chapter of our lives. We wanted to transition from the high-pressure world of marketing into something more meaningful—something that could help others and carry us into our own retirement years with purpose.
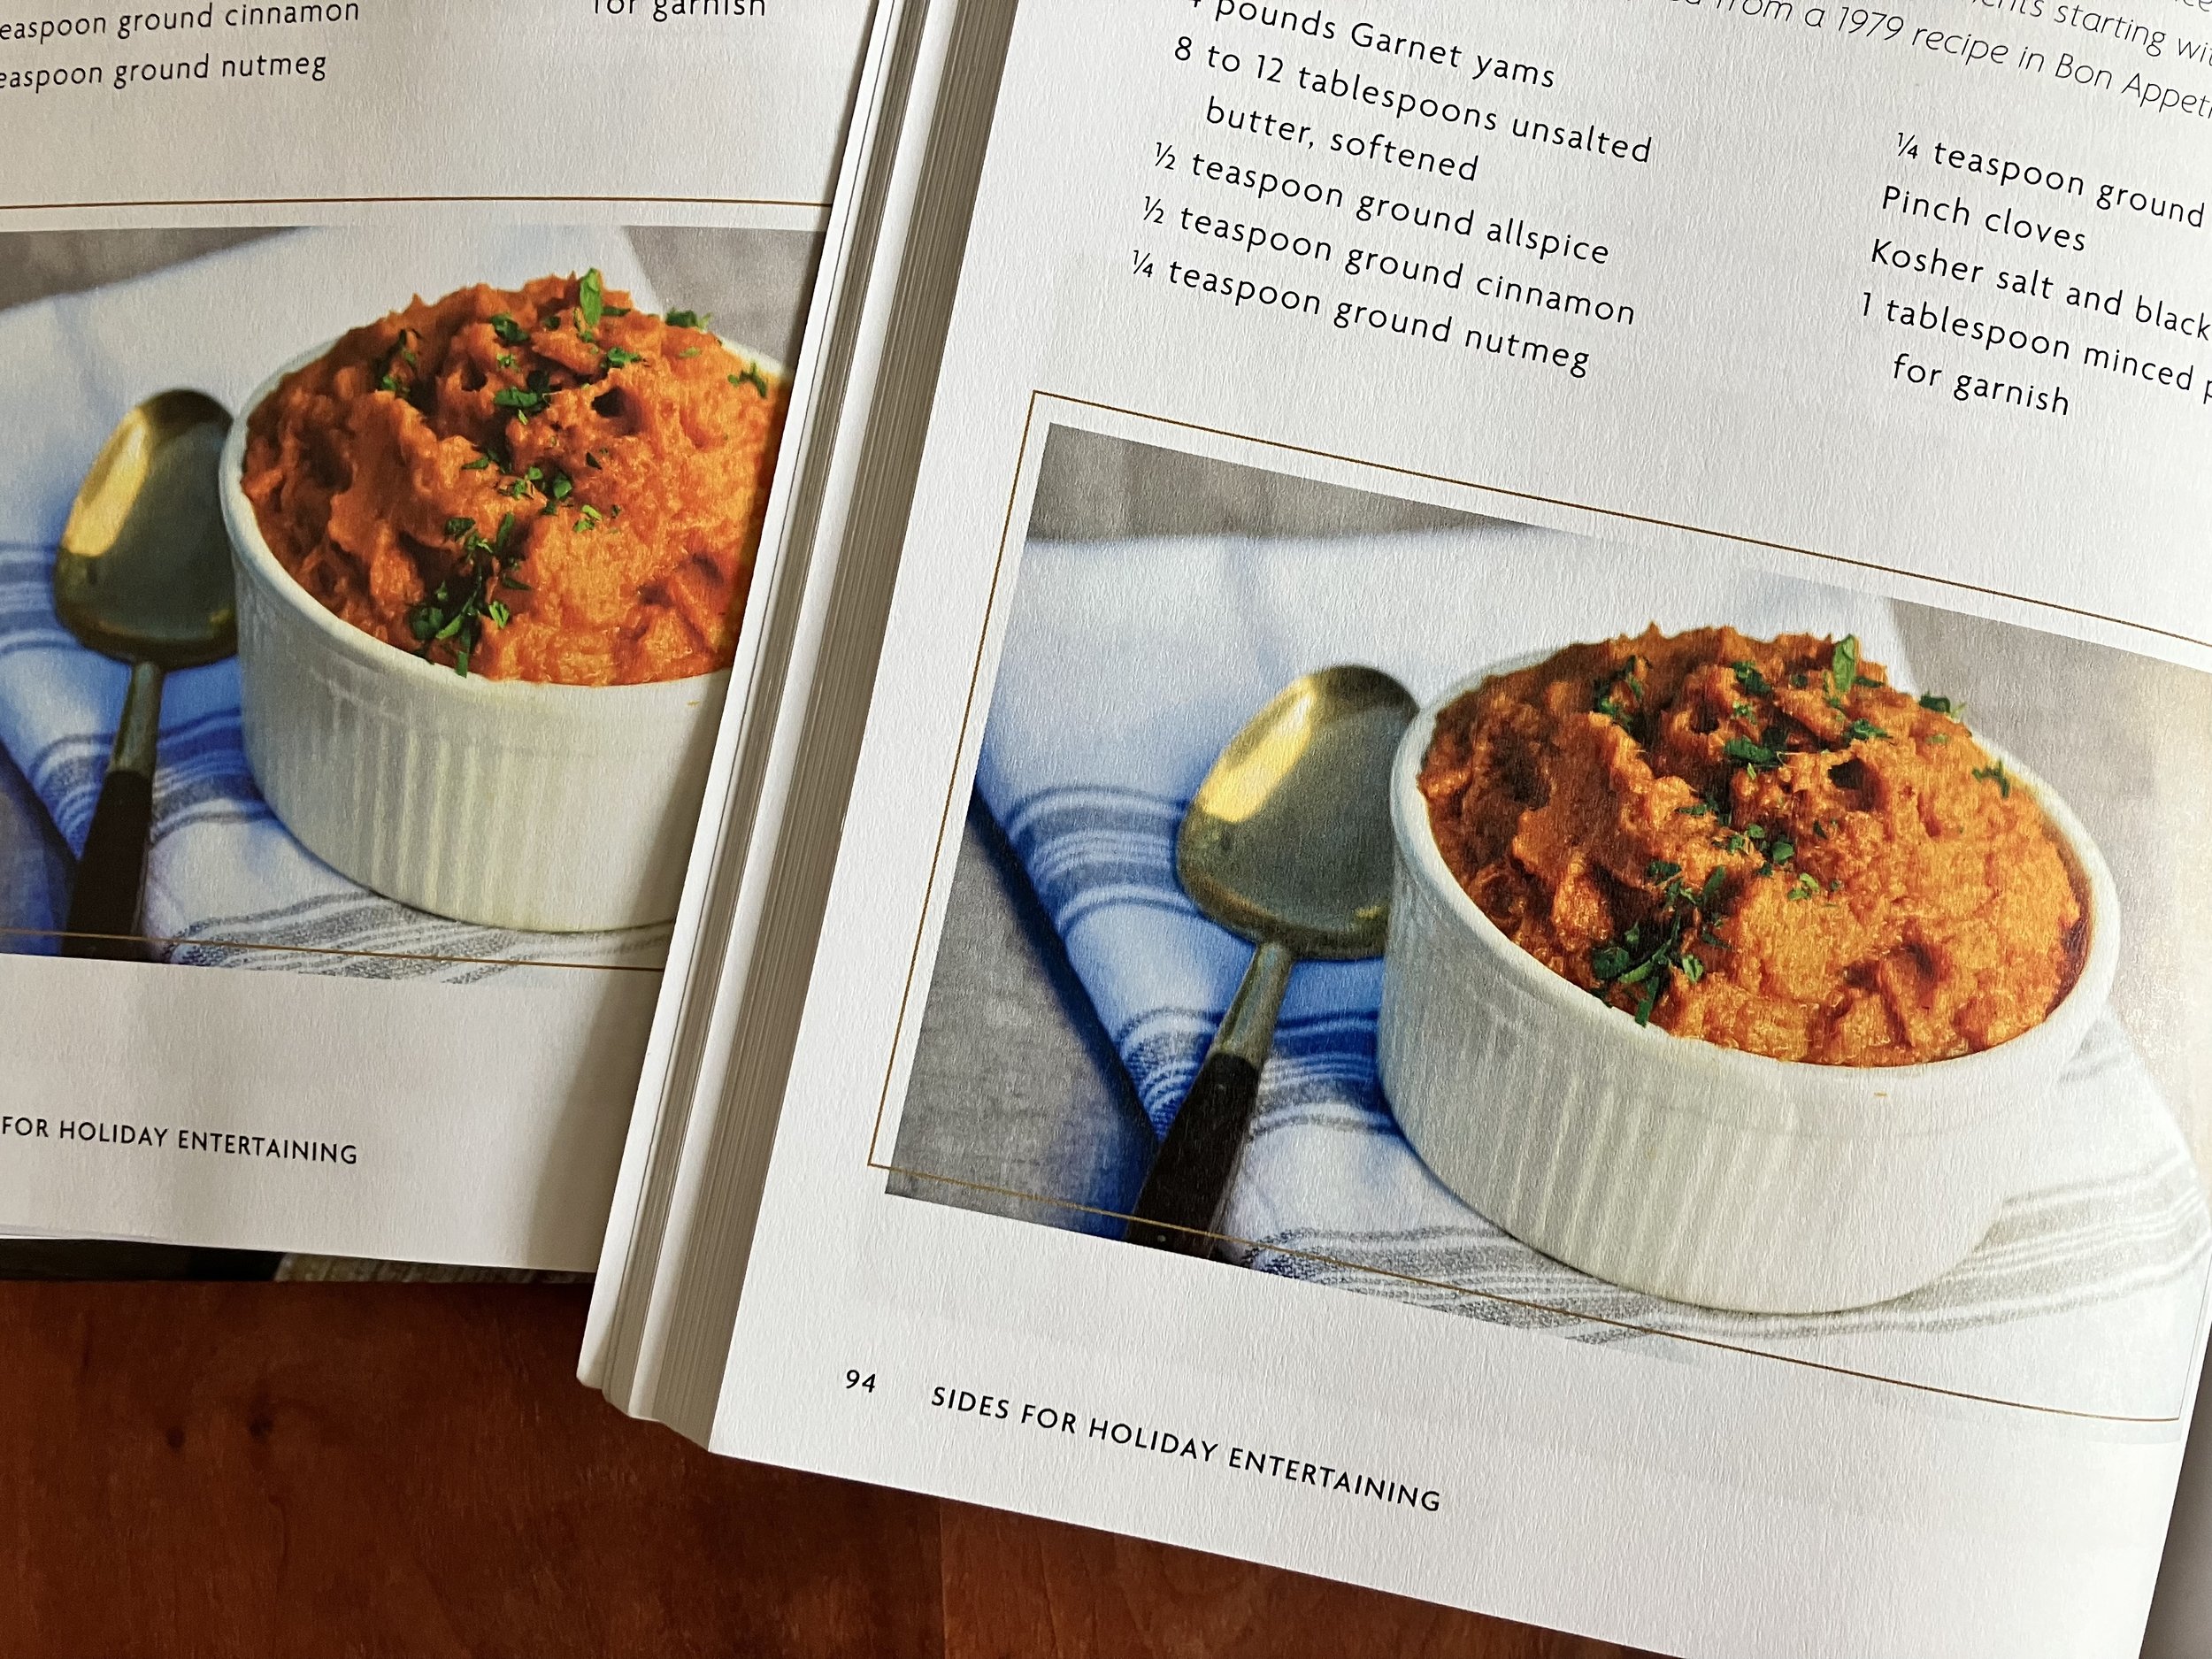
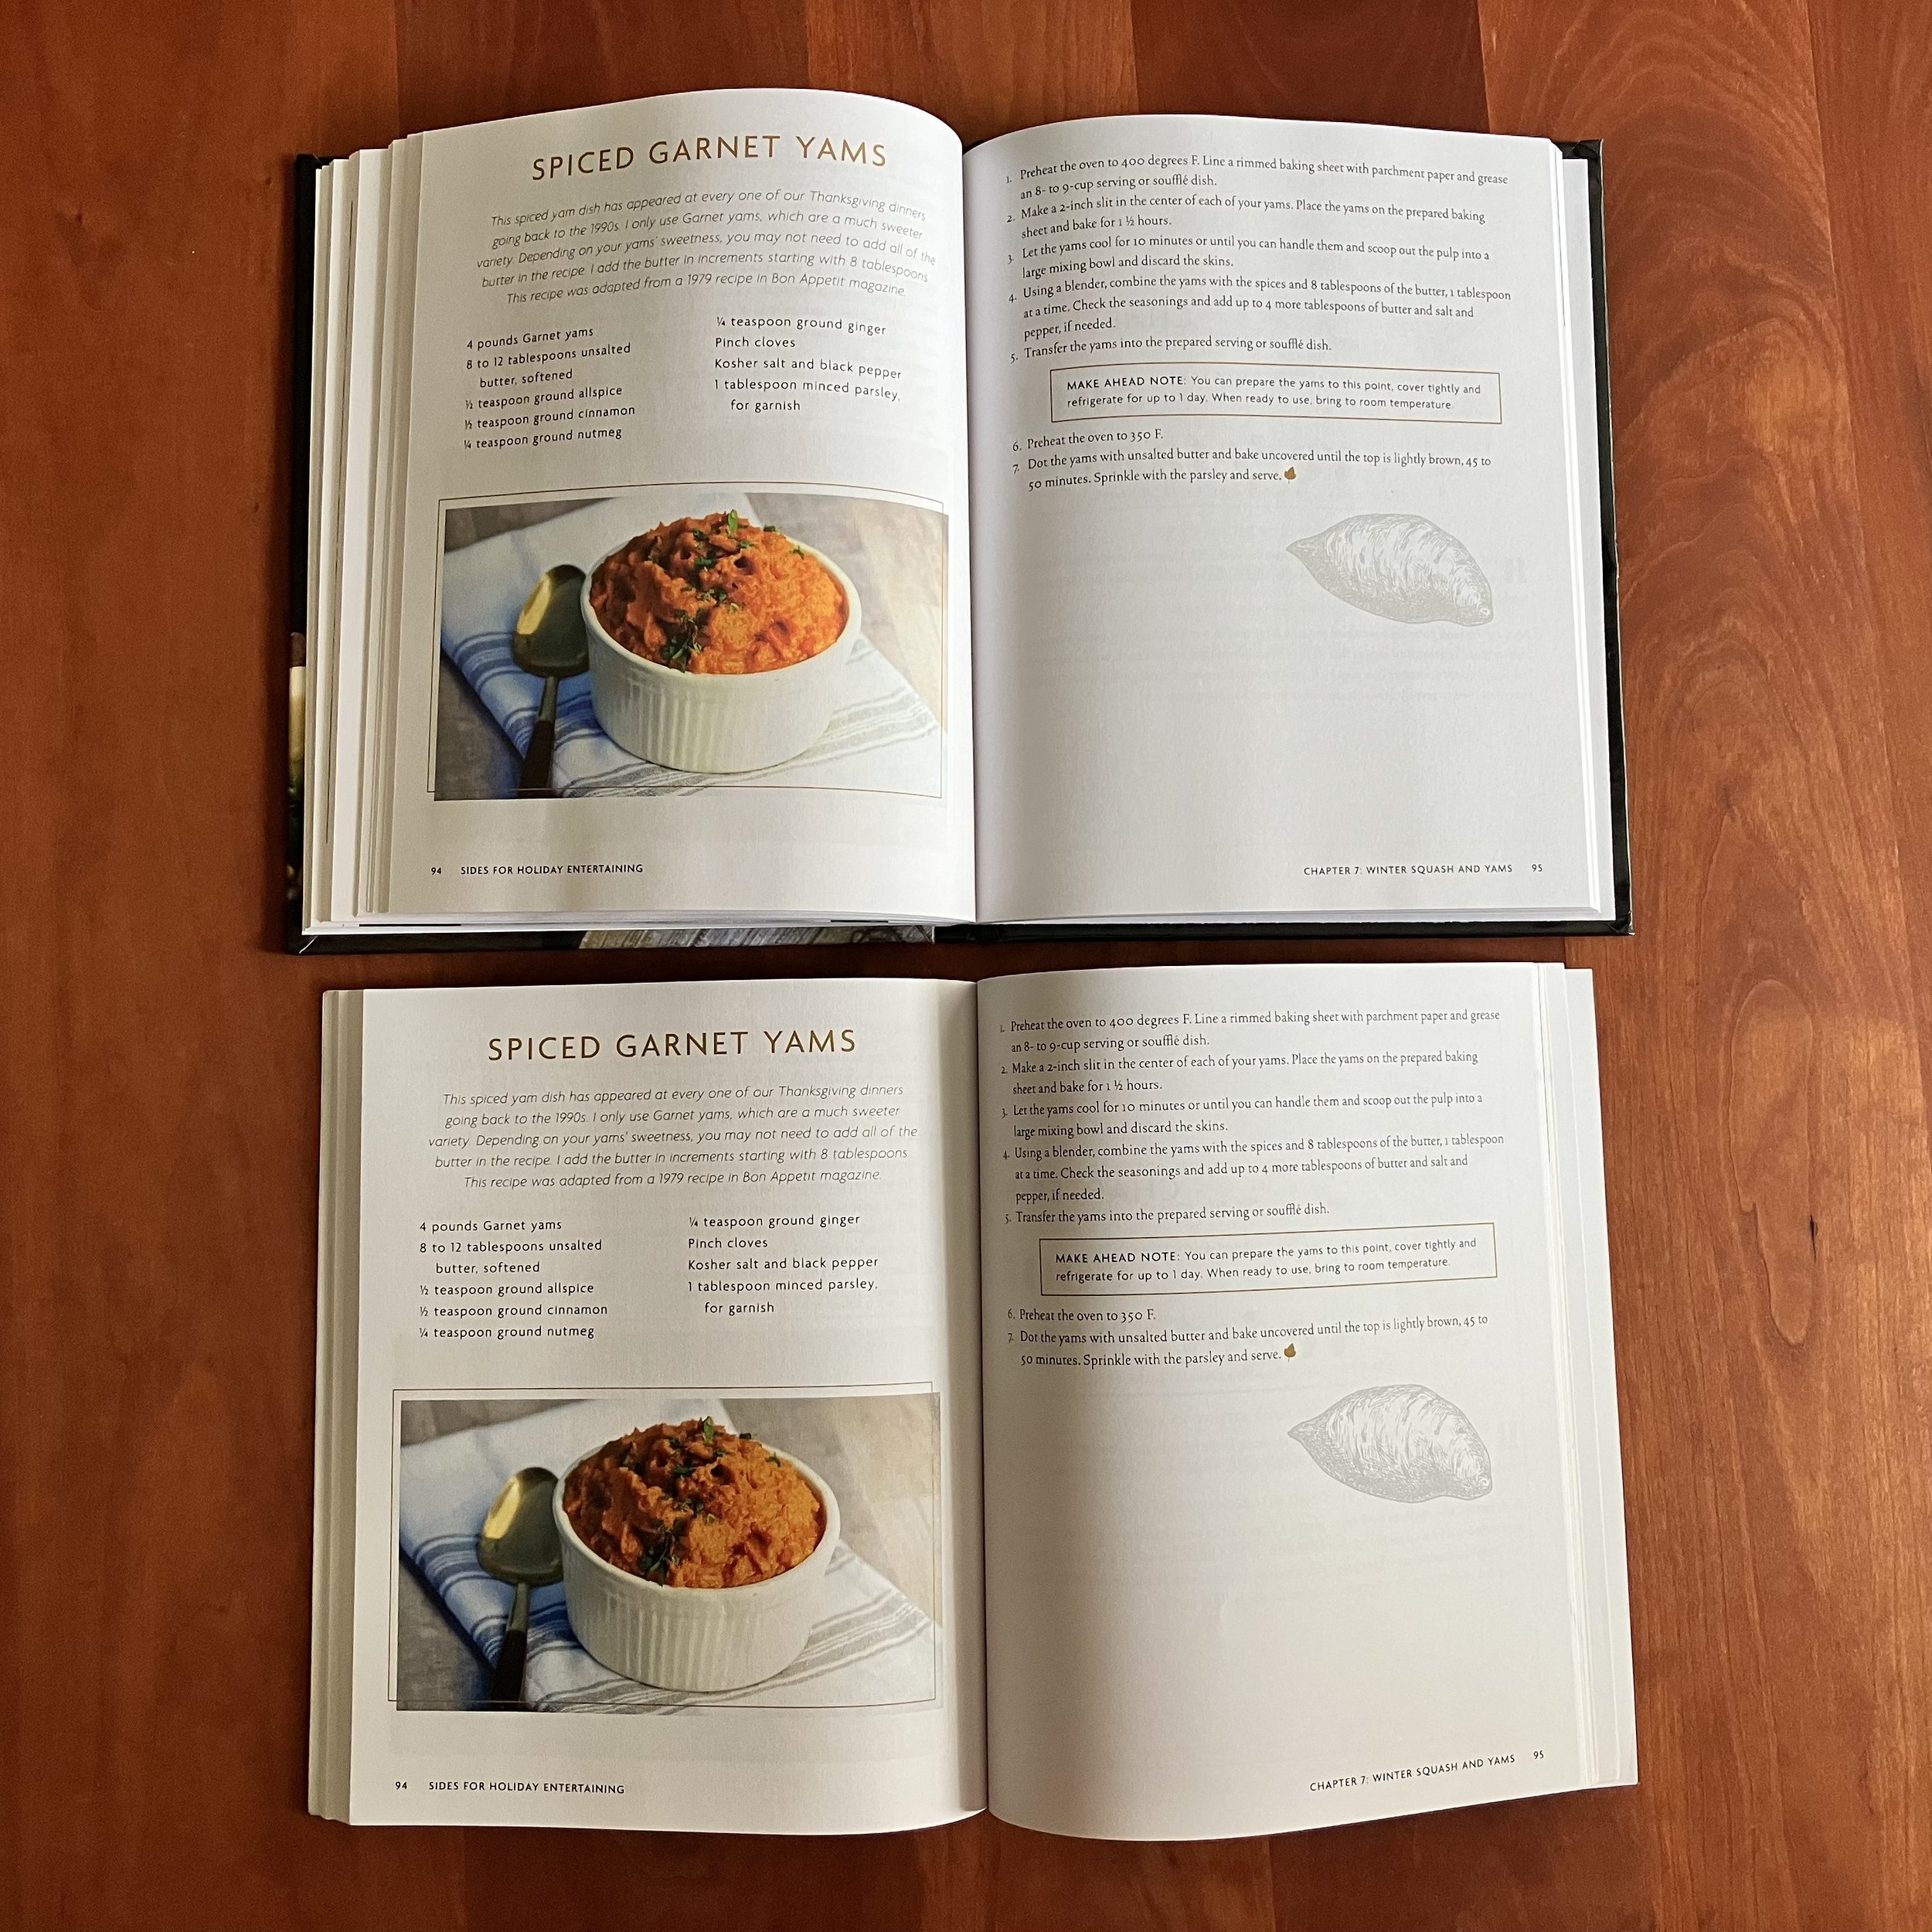
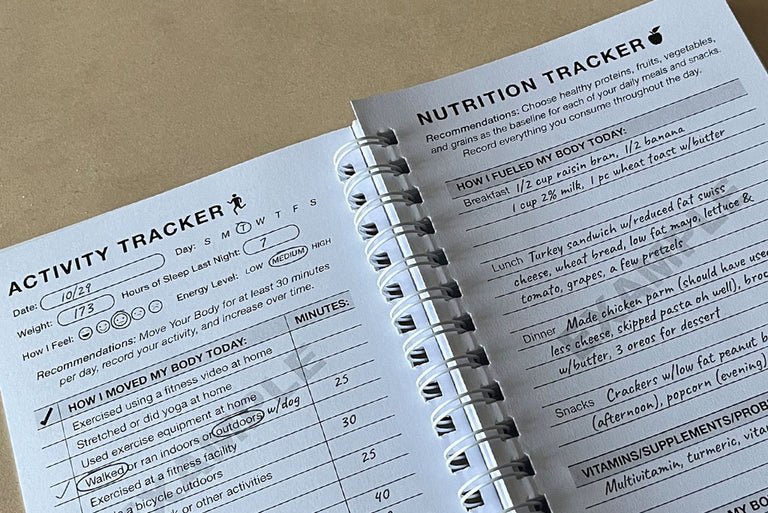
That’s when we created Evergreen Wellness, built around the theme For a Life Worth Living …Longer™. Our mission is to provide relatable, practical content for women and men ages 50-80+. We produce inspiring articles and videos, including complete fitness programs on DVD and in streaming format, that educate and empower our audience to live healthier, more fulfilling lives. Our Wellness Tracker is a natural extension of that mission. Designed with thoughtful details like large writing spaces, mindfulness prompts, and practical tracking for all forms of activity (not just athletic activities) our Wellness Tracker is a reflection of our commitment to creating a life worth living… longer.
Cheryl's Book Done Timeline
💡 The idea was born: January 2023
✍️ Writing started: March 2023
📨 Files ready for design and layout: May 2023
✔️ Book done (released): October 2023
Cheryl's Book Done Takeaways
Tell me about how you came up with your book's title.
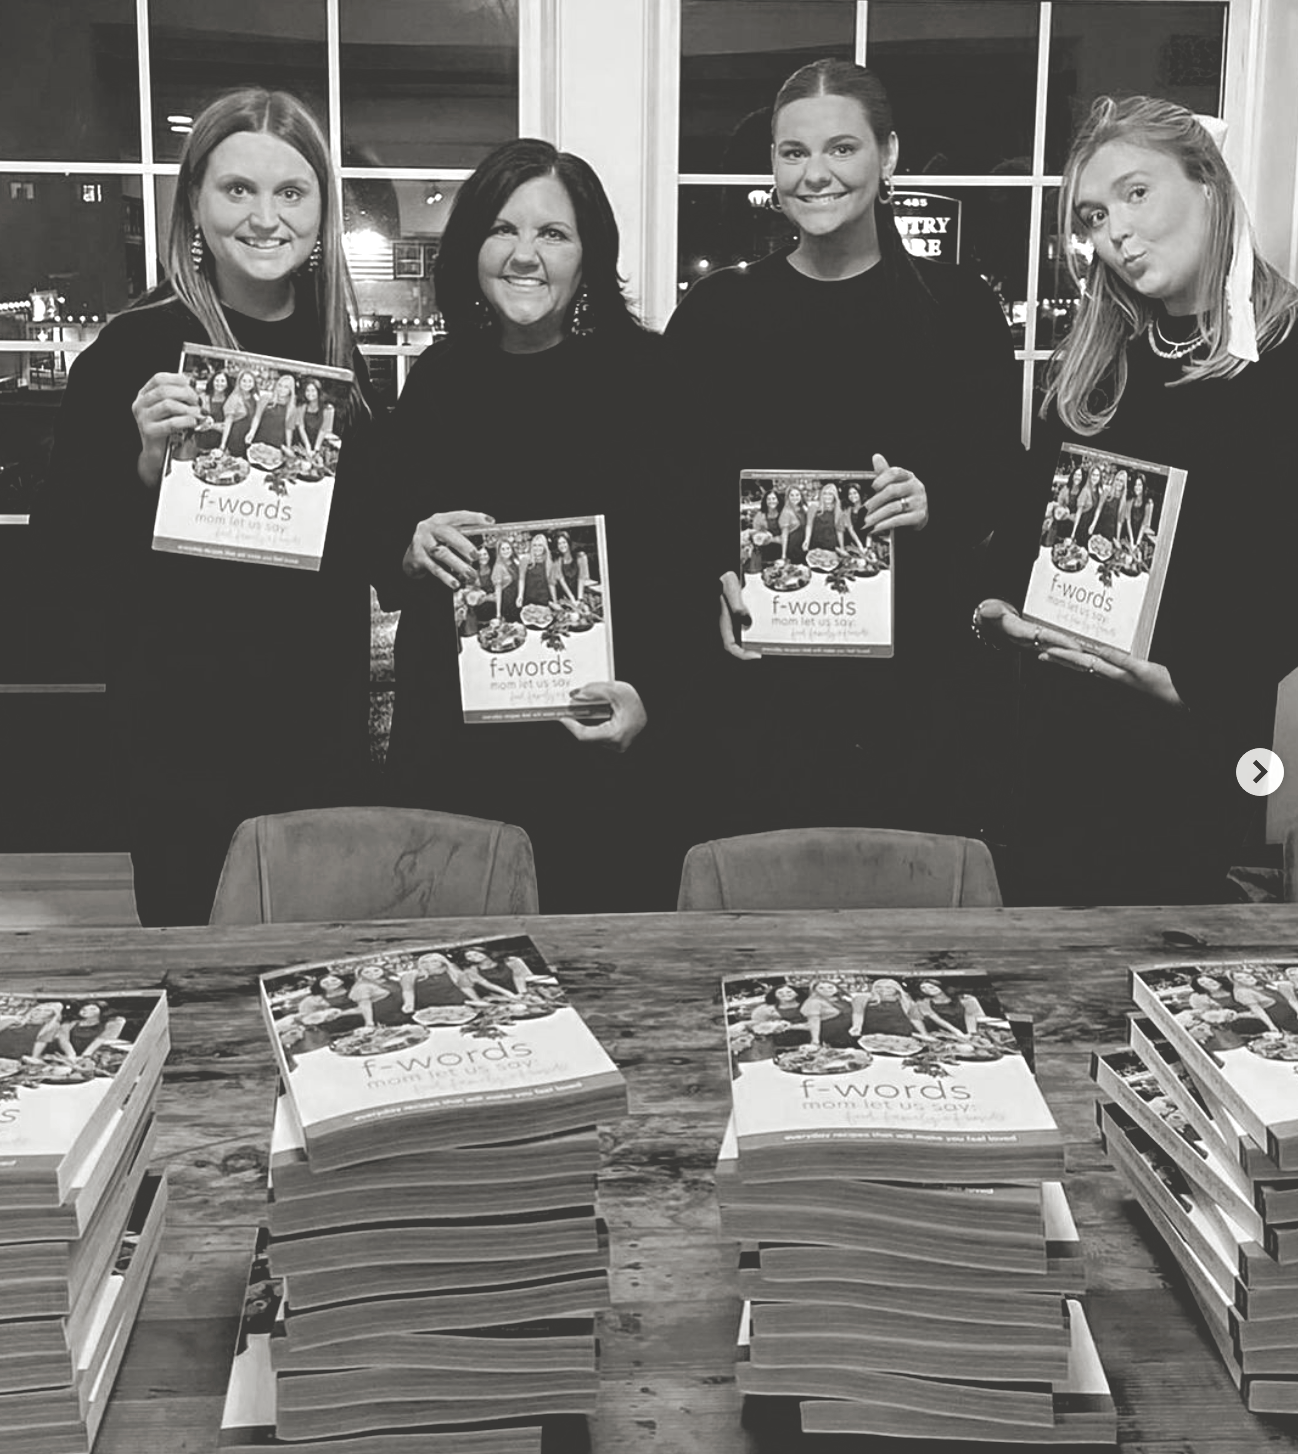
It started as "Exercise & Nutrition Tracker" but evolved to become "Wellness Tracker for Women and Men 50-80+" because it better represents our brand and target audience.

What service providers or partners did you have in creating and producing your book?
My husband and business partner, John, was my biggest supporter and cheerleader (he also created some of the graphics for the interior pages and contributed to some of the writing). Also Julie, our book designer, who was an absolutely wonderful partner and helped guide us in so many ways. And then our printers, of course, which we will share more about.
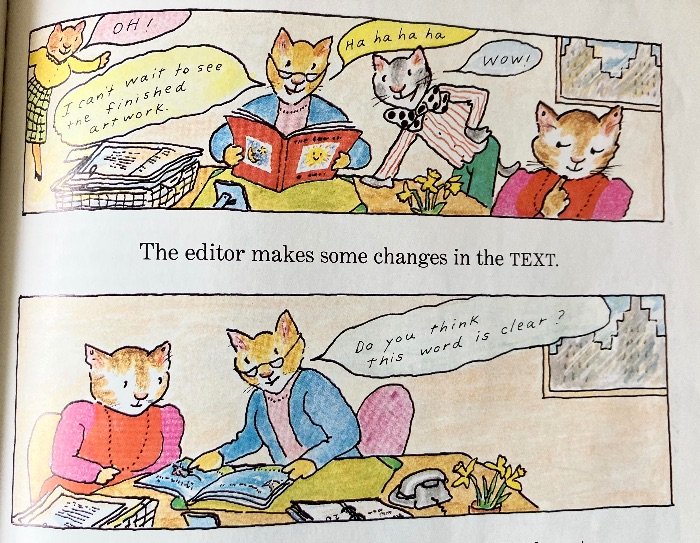
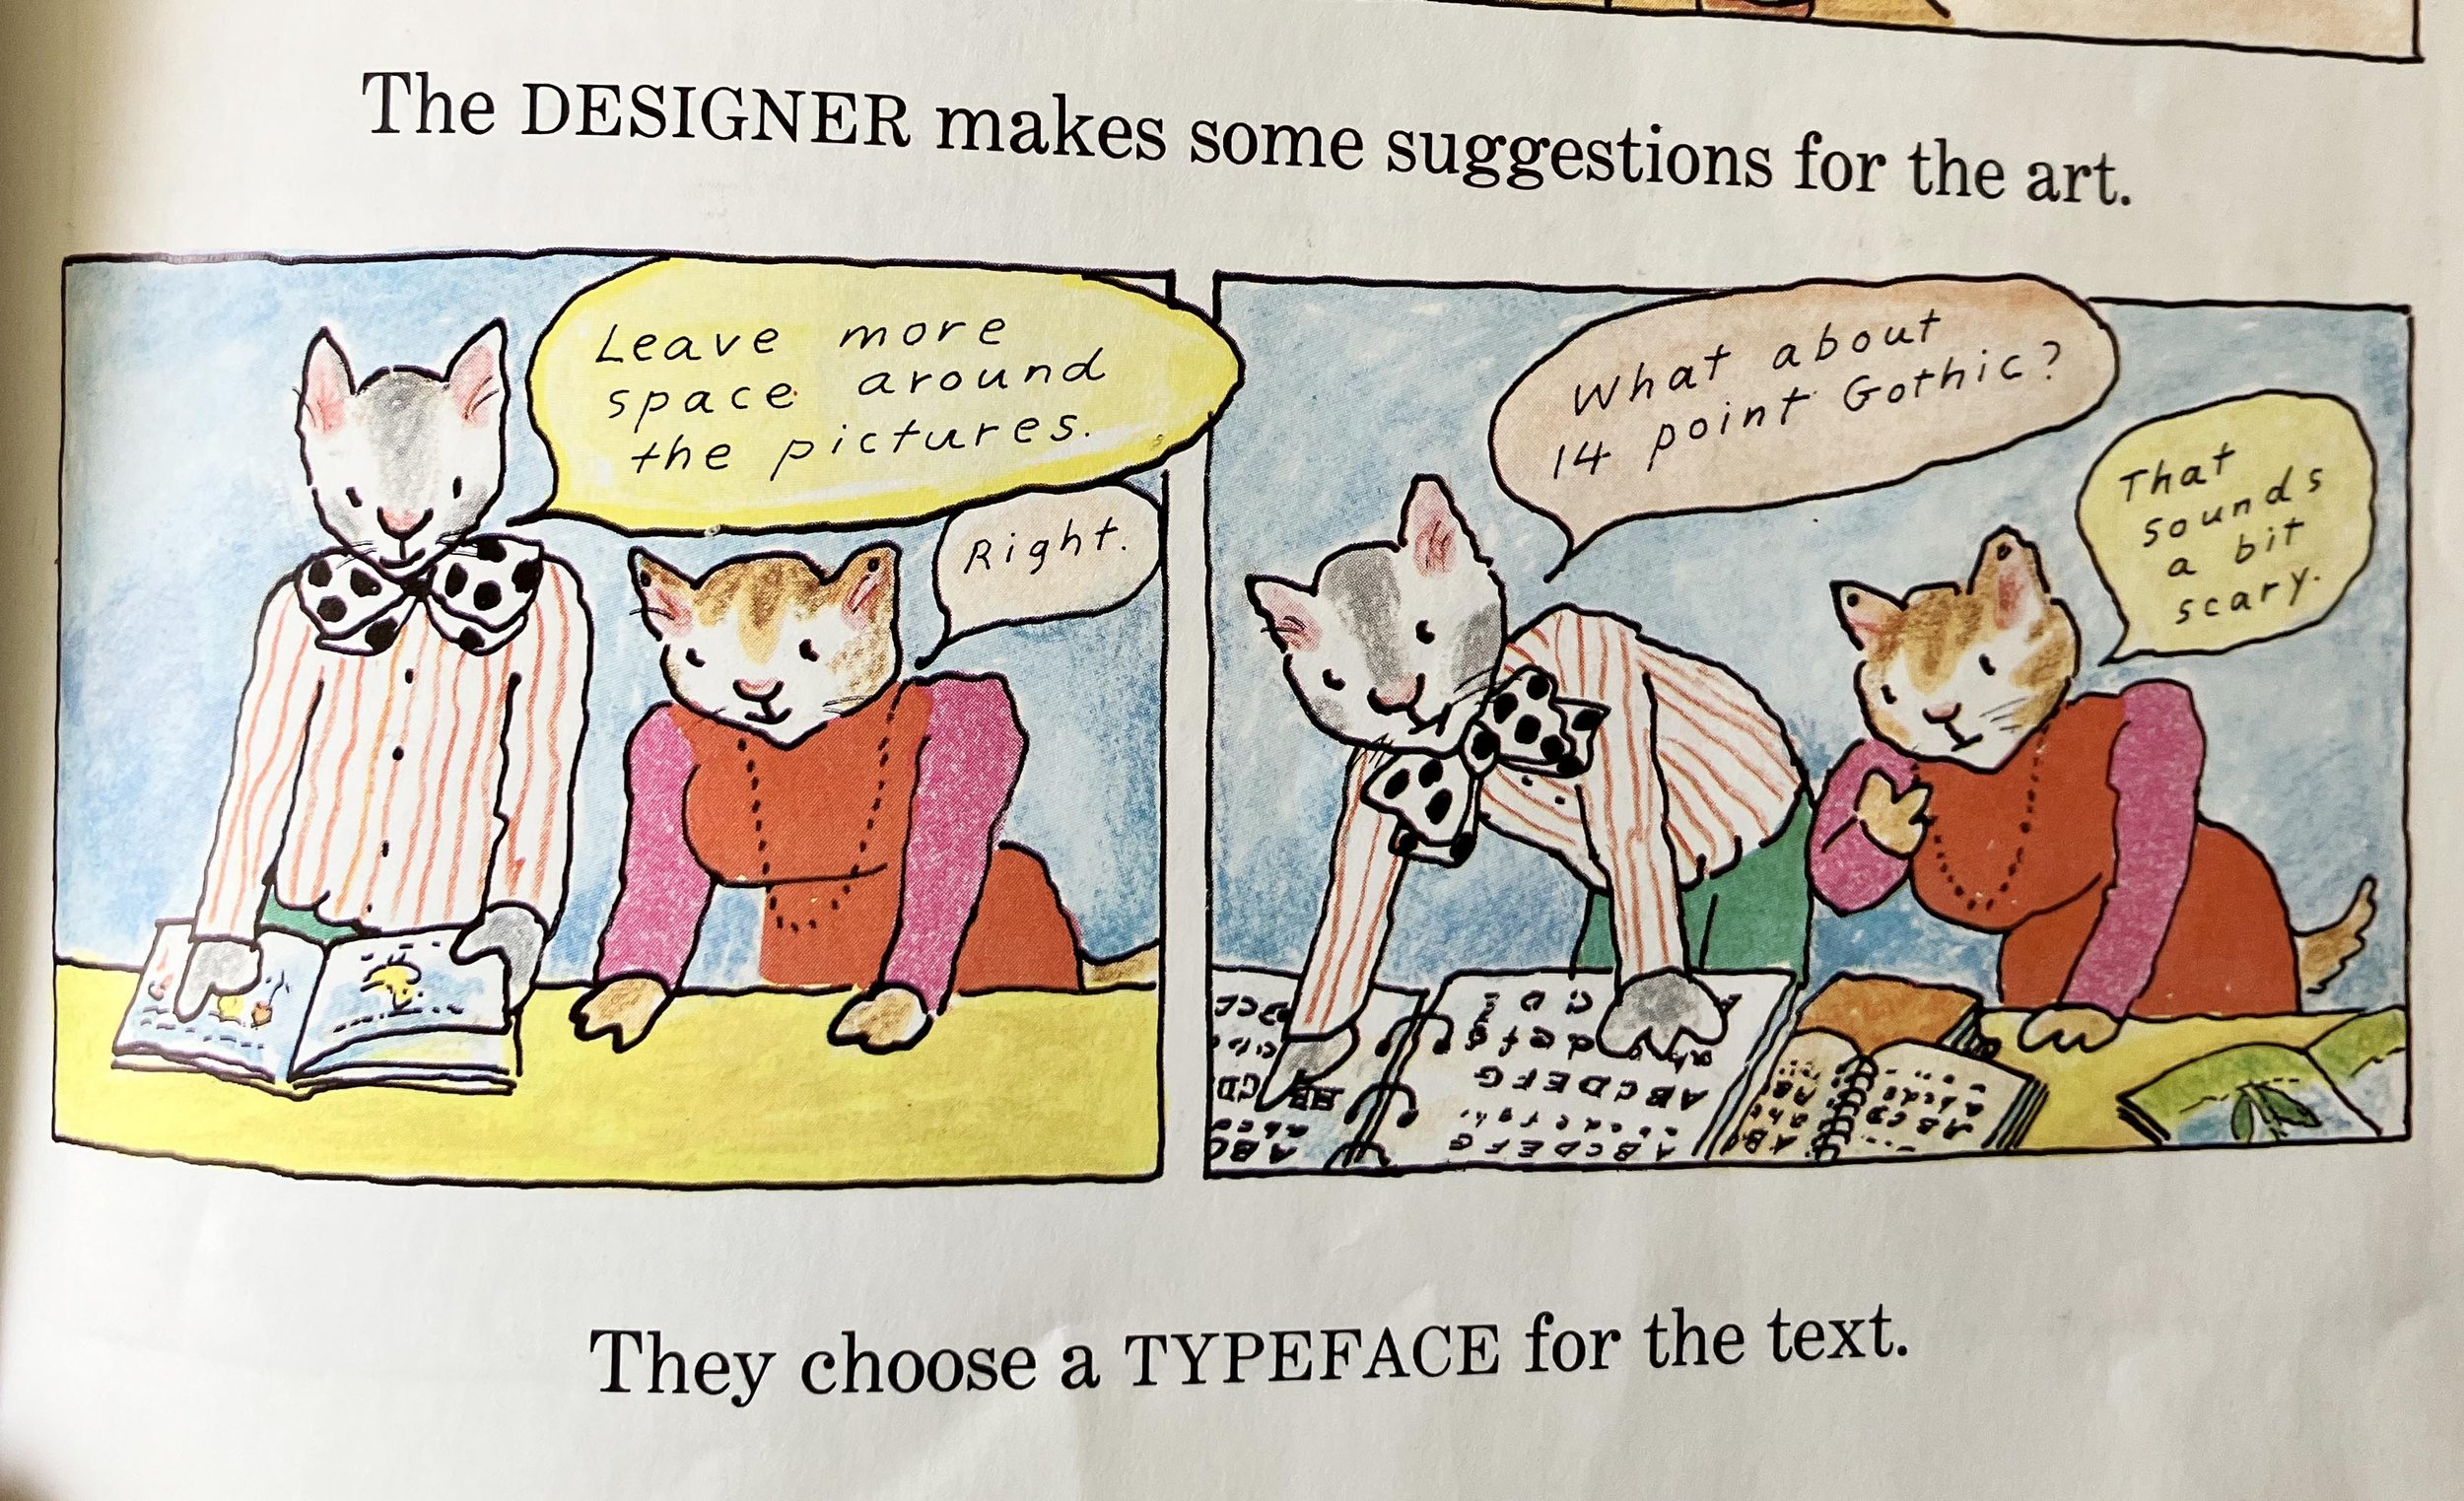
What part did Julie play in the producing of your tracker?
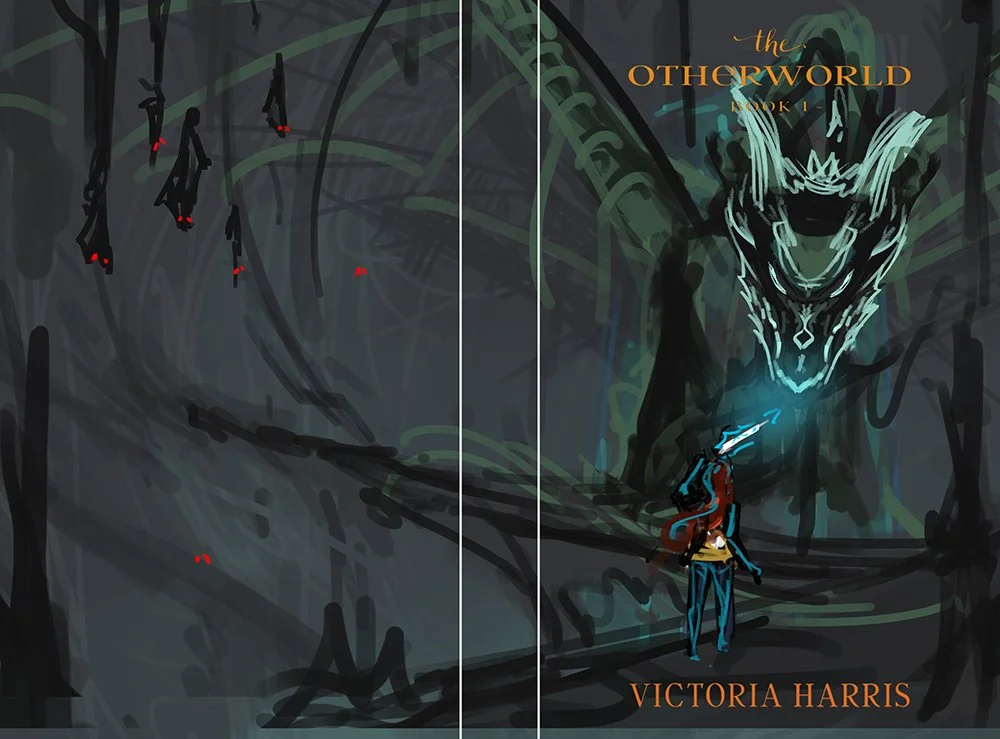
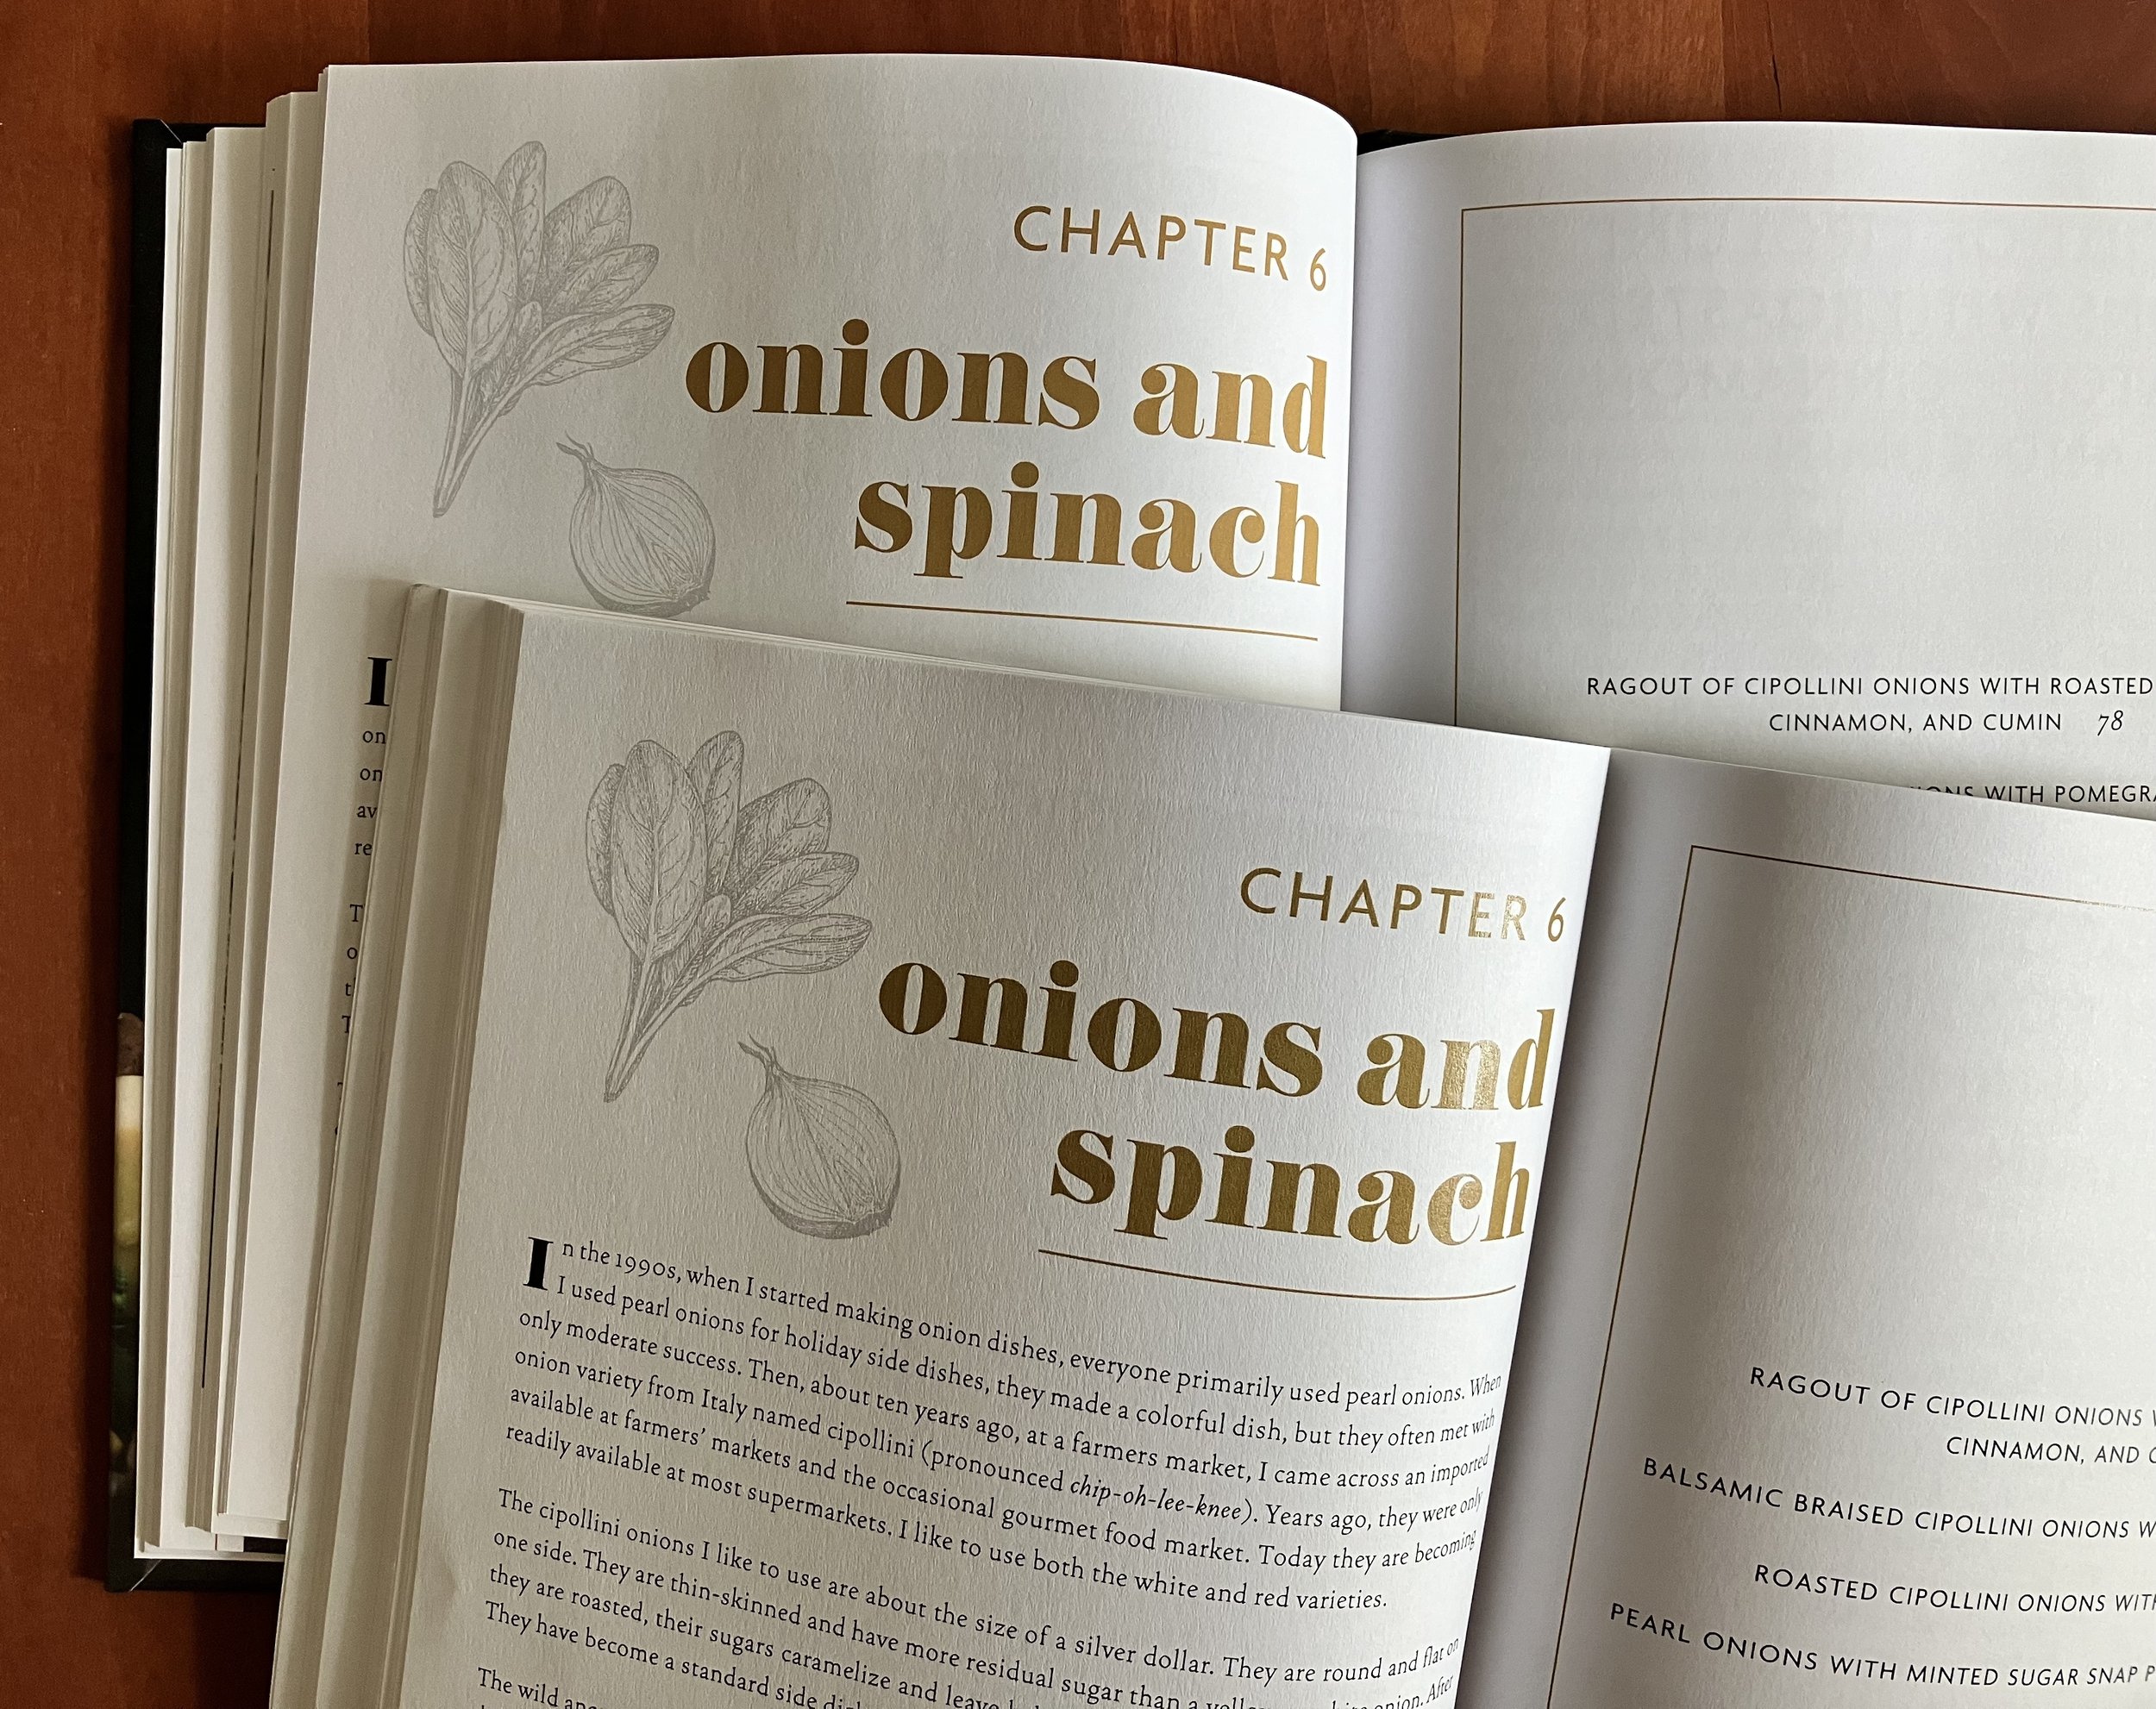
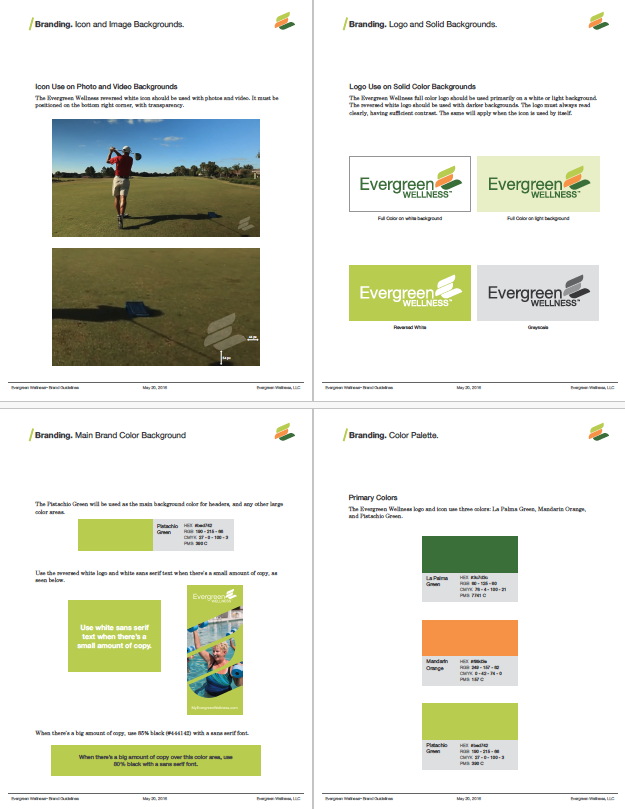
We provided Julie with our brand guidelines and some visual assets, including licensed images. She did a fabulous job of presenting several cover design concepts that used the images and branding styles we had set out, and we worked collaboratively to tweak and come up with the winner.
Once the cover design was established, she created the interior layout samples and we went through various rounds of tweaks to those before she laid out the full book interior. My husband John provided a few interior graphics as well.
This tracker has a large section of repeated pages for daily tracking and Julie helped us save money by making sure we knew exactly which pages were repeating (full sections of 16 pages must be identical for this to work), communicating this to the printer and setting up the files in such a way that the middle sections of the book could all be printed with the same set of printing plates. This is only possible if the pages are exactly the same—they cannot have unique page numbers on them. Because of Julie’s experience working at a book printer, she was able to guide us through this process.
Julie also connected us with a journal printer in China with whom her clients have worked before. She showed us the pricing and timelines the printer provided and also helped us know what information to give the other printers we were considering. While in the end we worked with a different printer who was a bit more affordable, it was definitely worthwhile to have that initial printer contact as a baseline and to have Julie’s guidance in knowing what to tell the other printers.


Did you self-publish, or work with a traditional publisher? If you self-published, did you use a print on demand printer, and if so, which one and why?
We self-published and chose not to use a print-on-demand service for our book in part because of the high cost per book and desire to have coil binding. From the start, we planned to print a minimum of 1,000 copies to keep costs down, especially since selling on Amazon significantly cuts into profit margins. Printing overseas seemed like the best option to make this feasible.
However, we also wanted to test-market the book before committing to a larger print run. This allowed us the flexibility to gather feedback and make revisions as needed. While researching and vetting printers in China, we simultaneously looked into short-run digital printers in the U.S.
Ultimately, we chose Bookmobile as our U.S. printer for the initial batch, producing 100 digitally printed copies. We shared these copies with friends and family to gather valuable feedback. Based on their input, we made adjustments to the book before moving forward with the larger print run in China.
Initially, we planned to sell the 100 digital copies on Amazon while waiting for the offset-printed copies to be manufactured and shipped. However, due to some challenges with Bookmobile and the faster-than-expected turnaround time from our Chinese printer, we decided to hold off. We only listed the book on Amazon once the offset-printed copies from China were ready.


You told me that you had taken a course on producing a product in China, which course did you take and was it helpful?
My journey to finding the right printer for our book was a process of extensive research and learning, and a lot of that came from Camron James, a well-known expert in Amazon selling. He offers fantastic insights into sourcing products from China, which was both educational for me and a way for me to engage with his content. Through his guidance, I learned how to navigate Alibaba, a Chinese-owned online marketplace that connects businesses with manufacturers and wholesalers. This platform became a crucial resource as I started my search for a printer.
I used Alibaba to find potential printers and suppliers, and I created a detailed Request for Quote (RFQ) to submit through the platform. The RFQ process helped me gather essential details about each printer’s capabilities, including their proximity to China’s East Coast ports, which was a key factor for me. I knew I needed a printer near major shipping routes to keep costs down, and I found that printers located near ports were often larger, more established companies, which was ideal.
To stay organized, I created a spreadsheet with clear criteria to help me evaluate each option. There are a lot of companies on Alibaba that present themselves as manufacturers, but I had to be cautious—some of them were actually just trading companies that farm out production to printers and add markup. Alibaba helped me distinguish between certified manufacturers and others, which made the decision-making process a little easier.
I also relied on translation software to communicate with the printers, as many of them didn’t speak fluent English, especially over the phone.
In total, I sent RFQs to about 8 to 10 different companies, ensuring I covered all my bases. It was a time-consuming process, but in the end, it was worth it to feel confident in the decision I made for printing our book. I ultimately chose a printer with a customer service rep named Doris. I based my printer decision on a few key factors: responsiveness, communication, price, location, and the quality of samples they sent me. While there were a couple of other printers that were almost just as qualified, the relationship I built with Doris really made the difference for me.
What was the biggest surprise during your book project?
The Chinese manufacturers I spoke with didn't seem to have much experience with shipping directly to Amazon warehouses in the USA, which was a bit of a challenge. Shipping to Amazon involves a lot of specific requirements and intricacies, and I had to explain these details to them. As an Amazon seller, everything has to be done precisely according to Amazon’s guidelines, which can be quite detailed.
I arranged for a partial order to be shipped from China to us and the remaining portion to be sent directly to Amazon’s fulfillment centers in the USA. Fortunately, by the time we were ready to launch the book, we had already been selling other Evergreen Wellness products on Amazon since 2018. This gave us an established brand, a customer base, and an existing product line, which made the process of adding the book to our offerings much smoother than starting from scratch.
What was the timeline from when you approved print files to when you got your physical product in hand from China the first time?
The manufacturing process only took about one week. Granted, the interior of our book is black ink only and some portions of it are repeated. More complex books might take longer. Doris sent videos to keep us updated as to how things were going. We ordered 1,000 copies as our first batch. Four dozen were air-shipped, while the rest were sent to Amazon by sea, which took about seven weeks.


What was the cost difference of printing your tracker in the USA vs. printing it in China?
The cost difference between printing our tracker at Bookmobile and printing it in China was significant. At Bookmobile, it cost $12.84 per copy for a run of 100. However, when printing 1,000 copies in China, the cost dropped to just $1.54 per copy. We didn’t really need 100 samples from Bookmobile, but it allowed us to test the product before committing to a larger order. In the end I was very glad we did this, as we made significant changes to the content after getting great feedback from our users.
Did you find your own shipping company or simply get the printer to take care of shipping for you?
I let the printer arrange shipping for us because it is quite complex if you don’t know what you’re doing.
Which part of your book project was the most fun or rewarding?
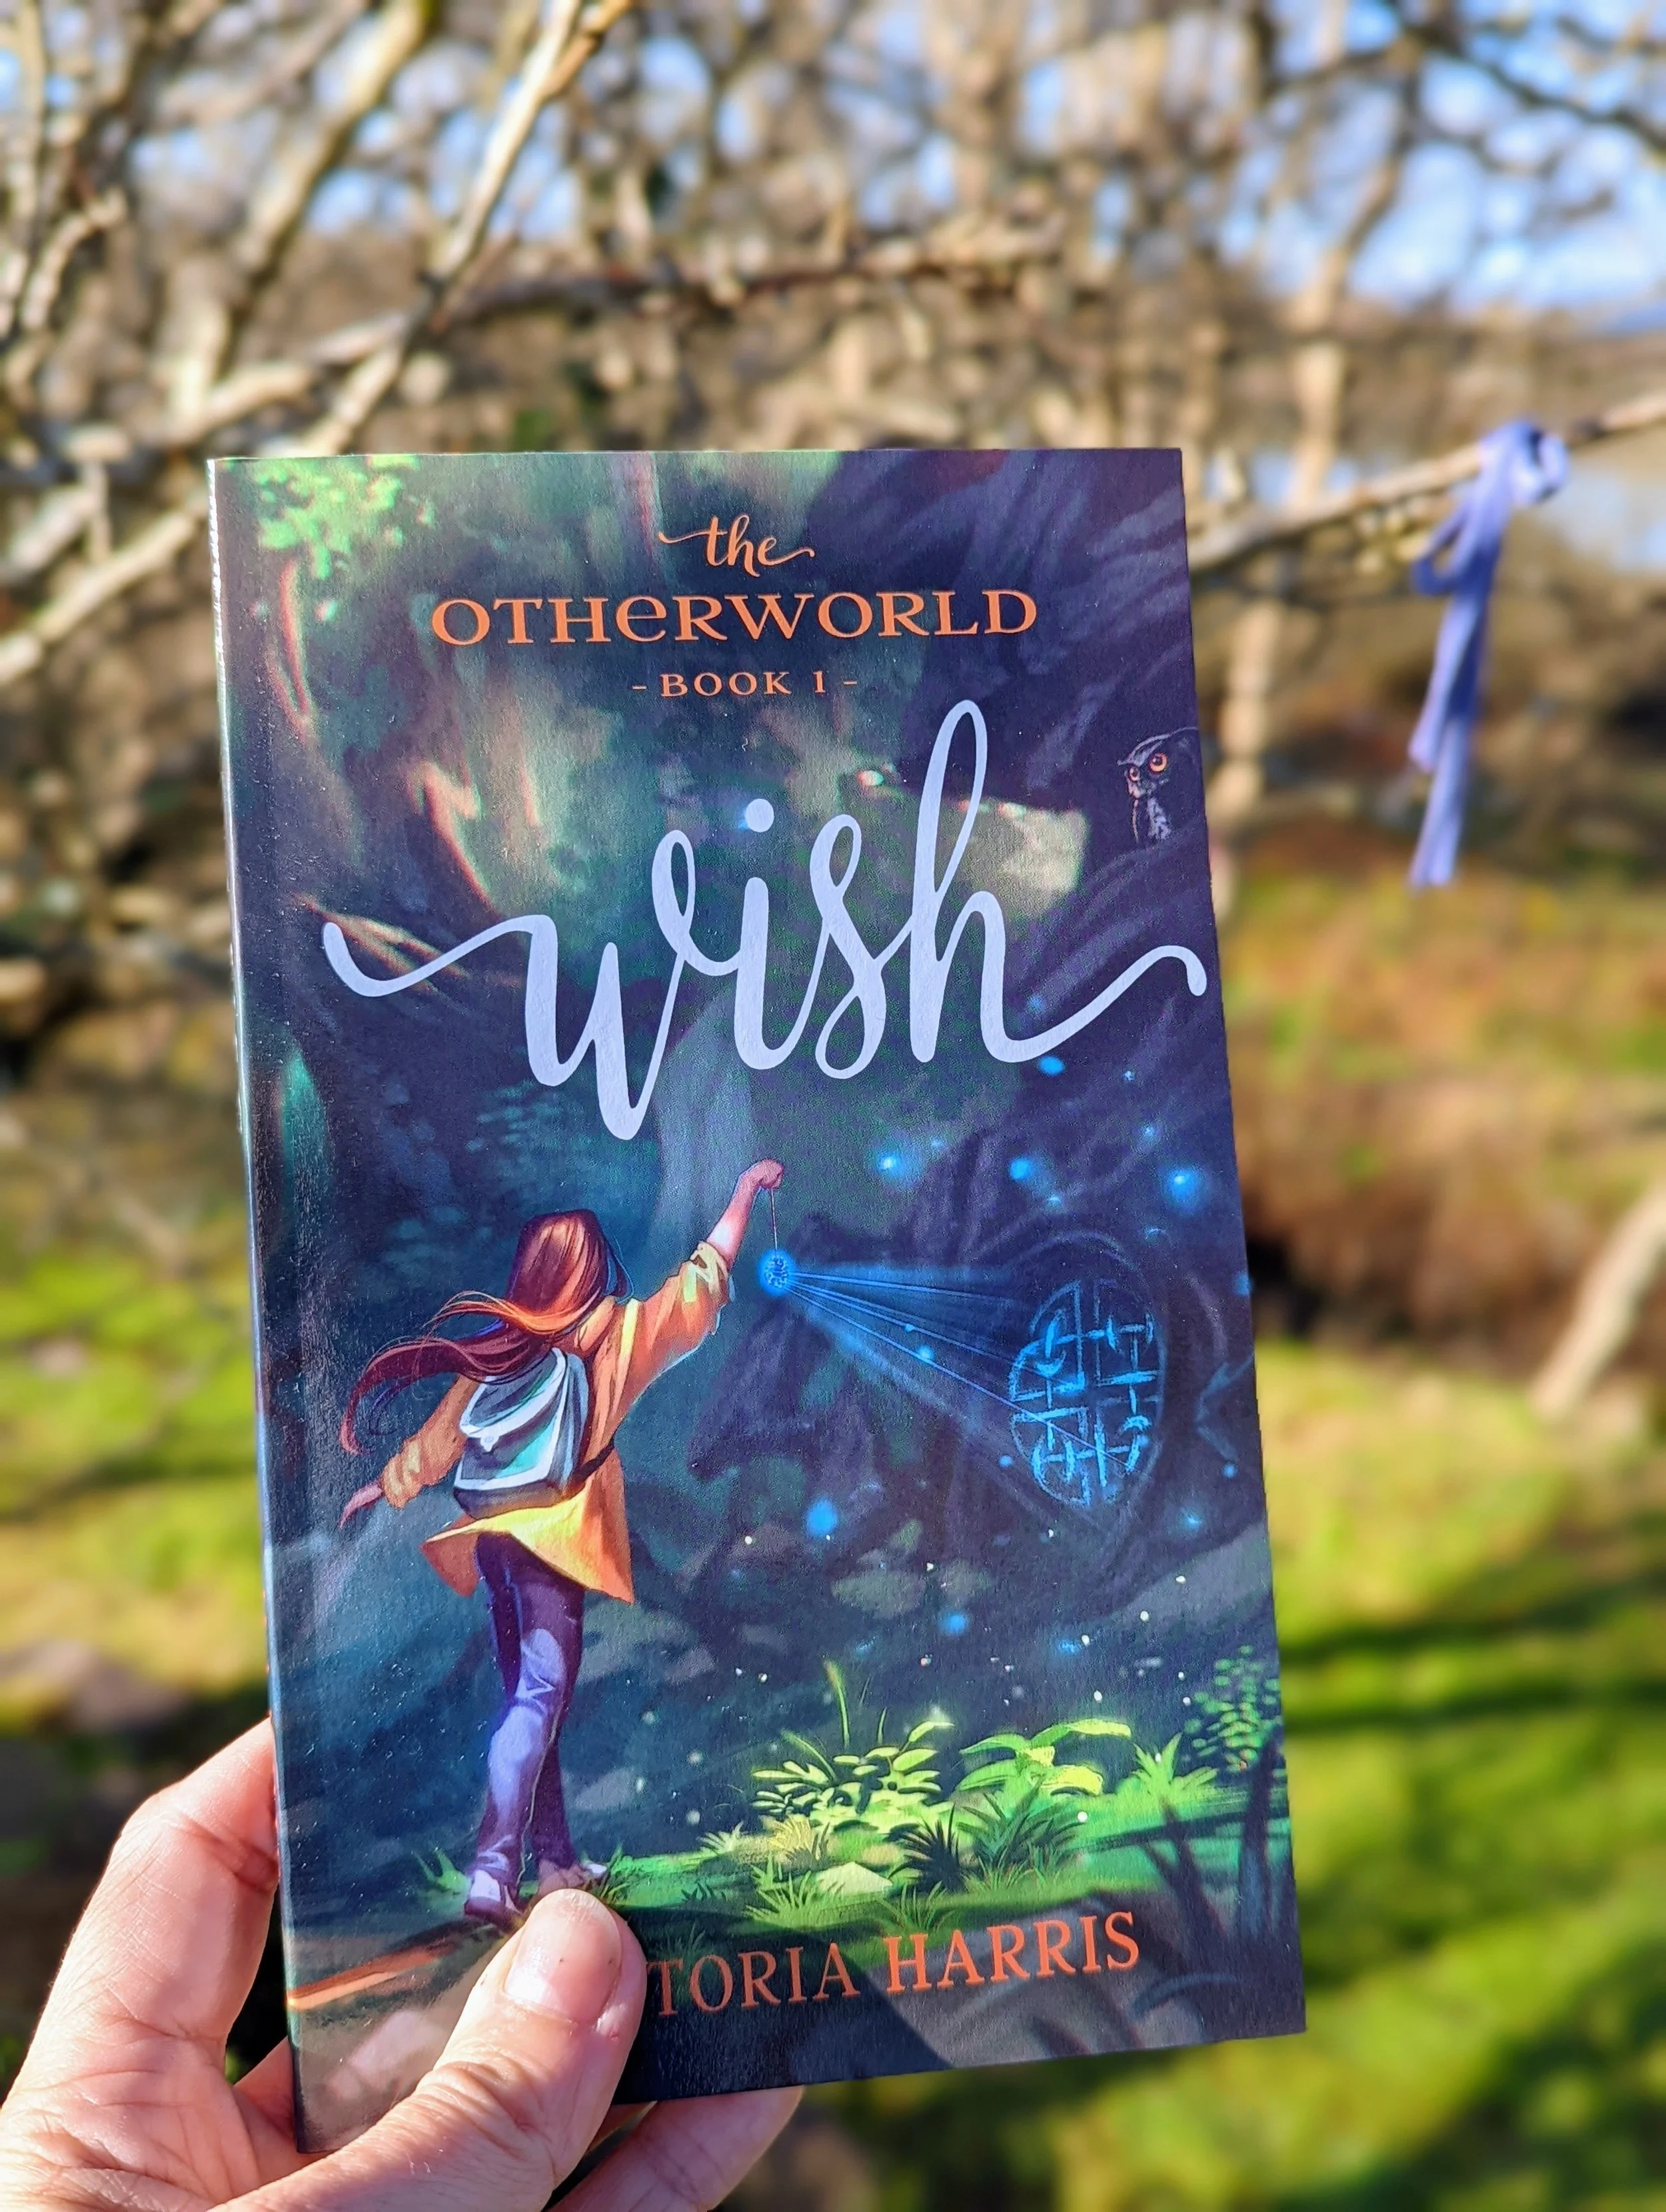
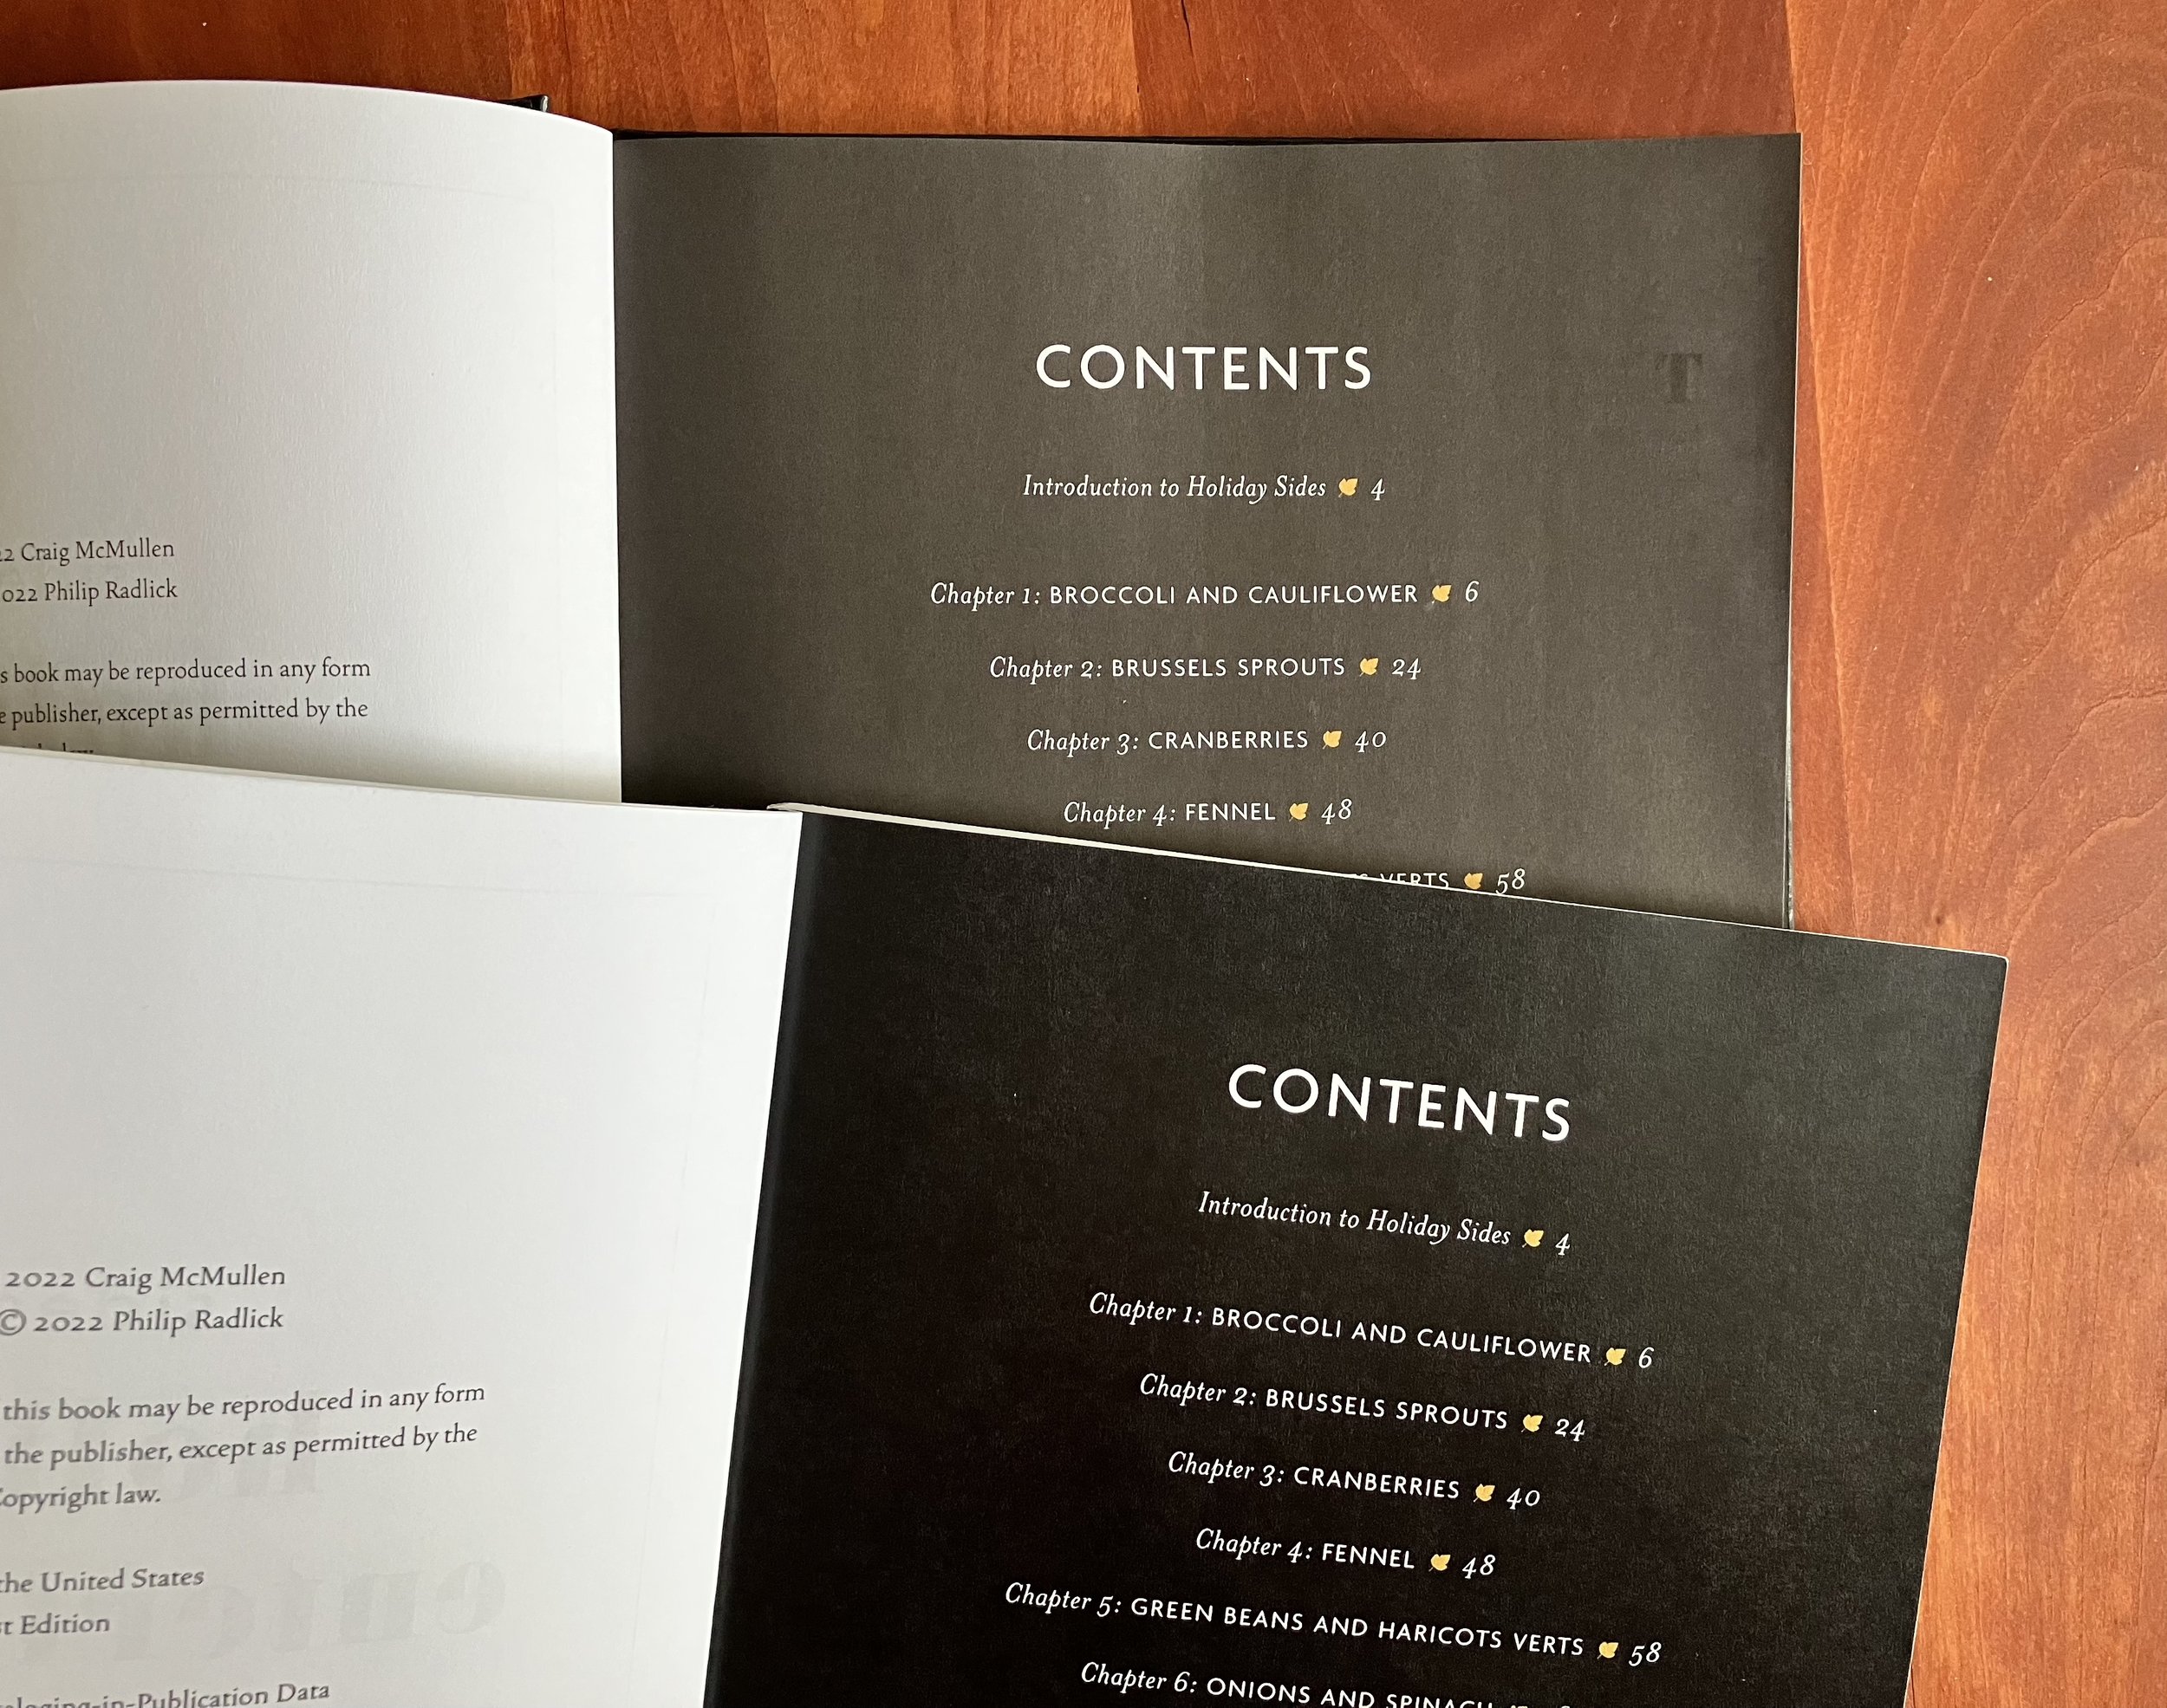
The most exciting and rewarding part was receiving videos and photos of the finished product from the Chinese manufacturer before they were shipped. It was such a great feeling to see everything come together! Here is one of the videos that Doris sent me:
Which was the most challenging?
The most challenging aspect, as a first-timer, was navigating the entire process. From writing the content and finding an experienced book designer to sourcing printers both domestically and in China, there was a lot to learn. I also had to familiarize myself with the U.S. copyright system to protect the book and figure out the complexities of shipping from China. It was definitely a steep learning curve.
Which part of your book project took longer than you expected, and why?
The part of the book project that took longer than I expected was getting the first 100 copies from Bookmobile. The initial batch was way off, and it took an extra three weeks to get it right. The final product didn’t match the proof, which was frustrating. By that time, we were already moving forward with printing in China, but I’m still glad I distributed the sample book—50 units in total. I wouldn’t say I would not recommend Bookmobile, but there were definitely challenges. I had better success getting the product I wanted from China than from Minneapolis, which is saying something!
Do you have any marketing tips for journals given your background running a marketing business?
With our background in running a marketing business, we have a love-hate relationship with Amazon. We listed my tracker at $19.99, but it's often on sale for $16.99. Fulfilment by Amazon (FBA), cost us about $6 per book, which means we receive about $11 for each book we sell on Amazon. Navigating Amazon as a seller is definitely not for the faint of heart—it requires a lot of time and effort. On average, it takes about 1 to 1.5 years to go from the very beginning steps of creating a product to actually selling on Amazon.
When you write another book, what will you do the same way? What will you do differently?

I will source the printer overseas again, but will look into India and other countries, in addition to China. I only chose to work with China after many deliberations. As a business owner I am aware that working with China may not be a long-term solution as tariff increases, etc. could quickly make it less profitable.
What is your best advice for marketing a book?
For us, the book is an add-on to an already-established brand and complements our other product offerings really well. So, selling it on Amazon and on our own shop site didn't require as much heavy lifting as if this were our first product. Our marketing machine was already in place and we just kept rolling. Within the first year, we were able to sell almost all of the original 1,000 journals and one year after we released, we ordered 2,000 more trackers.

Book Done Technical Details
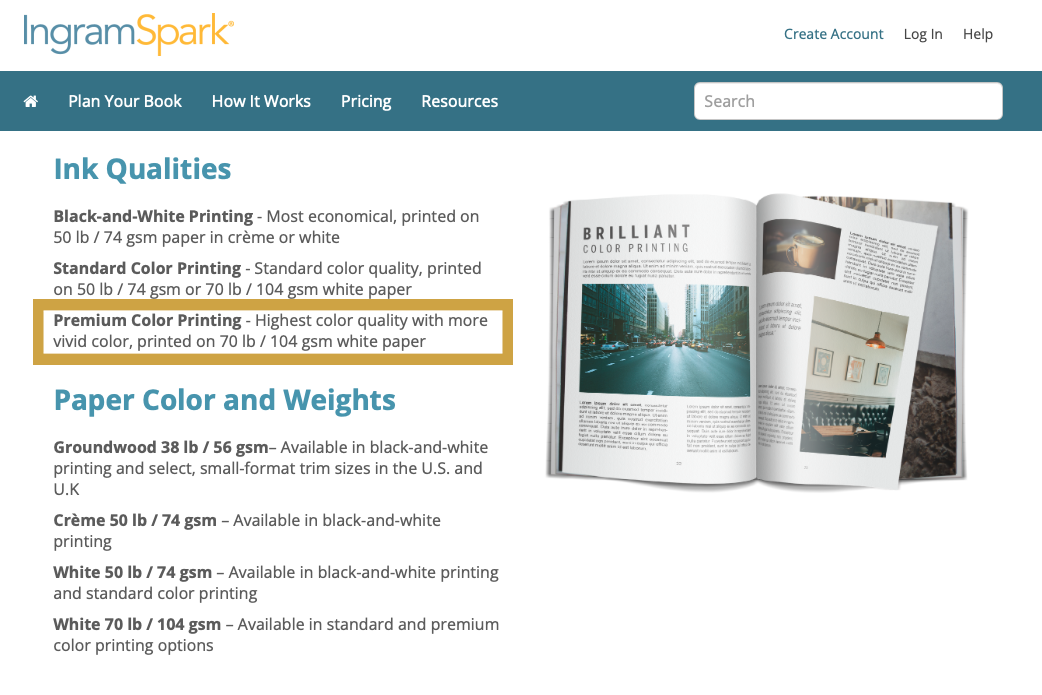
Your printer needs these kinds of details to give you a quote for printing a similar book. If you are using a print on demand printer like Amazon KDP or IngramSpark, you can enter your book details on their website to know your printing cost per book.
Initial quantity of books ordered: 1,000
Page count: 176
Dimensions (Page size): 5.5 x 8.5 inches
Interior Details
Ink colors: Black and white
Bleed: No
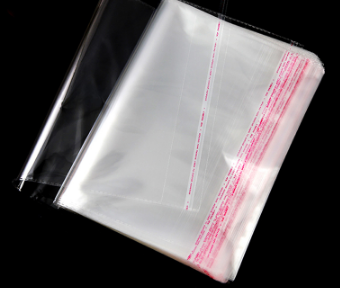
Cover Details
Binding: White metal coil
Ink colors: Full color
Laminate: Matte
Thanks to Cheryl for sharing what she learned through her journey.
To follow Evergreen Wellness, visit the company’s website, their community site, or their Amazon store.
Cheryl and John at Evergreen Wellness would like to give you a 20% discount on their wellness tracker or any of their DVDs. Just follow this link and use coupon code JKH20 at checkout!
If you are a marketer and have an established brand but are wanting to produce your first book or planner product, send me a message with any question you have about book planning, design or formatting through my contact form. If you’re still in the planning stages, consider booking a one-hour live consultation. Or fill out this book project questionnaire or journal project questionnaire if you already know the specifics of your project.